Building the Garden Net and Frame
I love growing my own plants but I have a nemesis in the garden that is eating all of my beautiful herbs, so today I built a frame to put a net over all my babies to try and keep the bastard out!
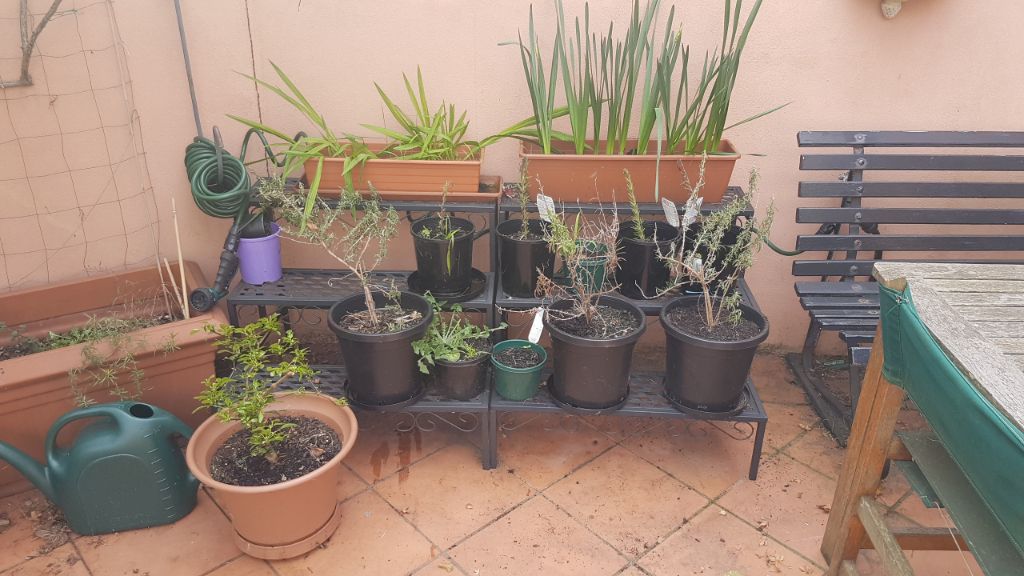
Here is the original setup which is looking a little sad, the only herbs that this damn possum/bird/crazy neighbour didn’t eat all of was the hardy rosemary.
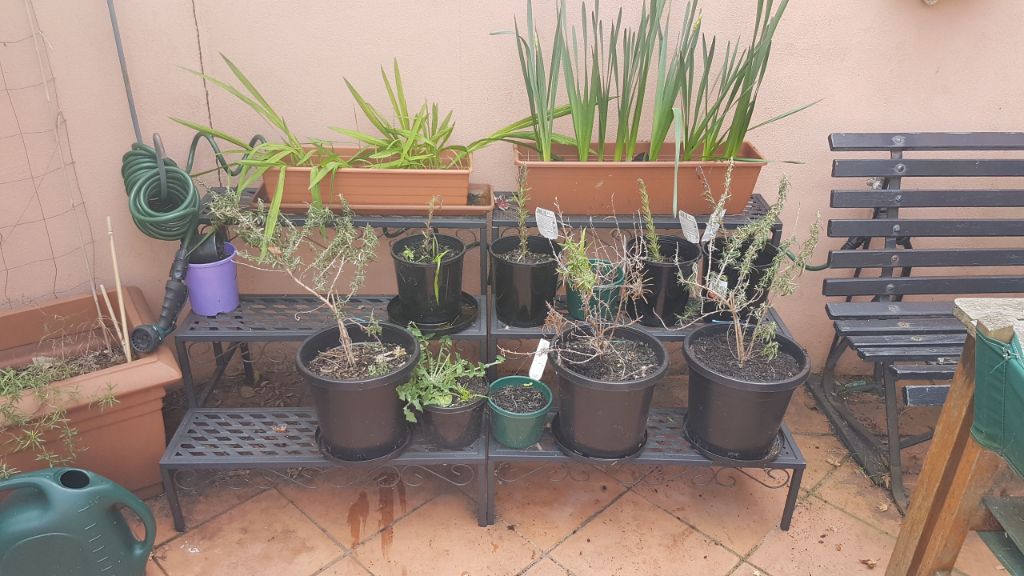
The rest of my plants were looking very sad too, need some TLC!

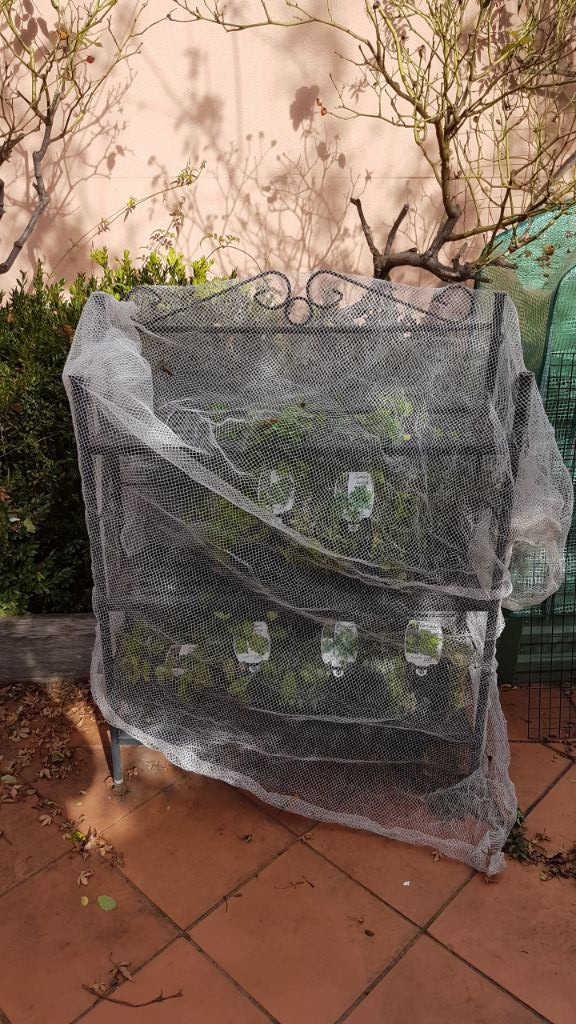
Here is the temporary solution I’ve got; a simple metal shelf covered with a bird net. This was OK while the plants are small but leaves very little room to grow and less sunlight than I would like.
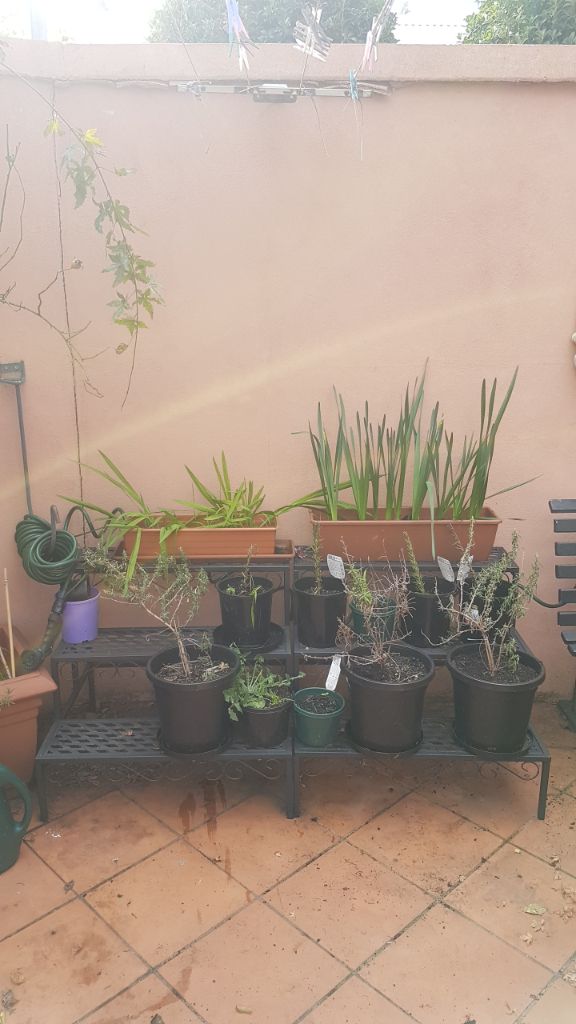
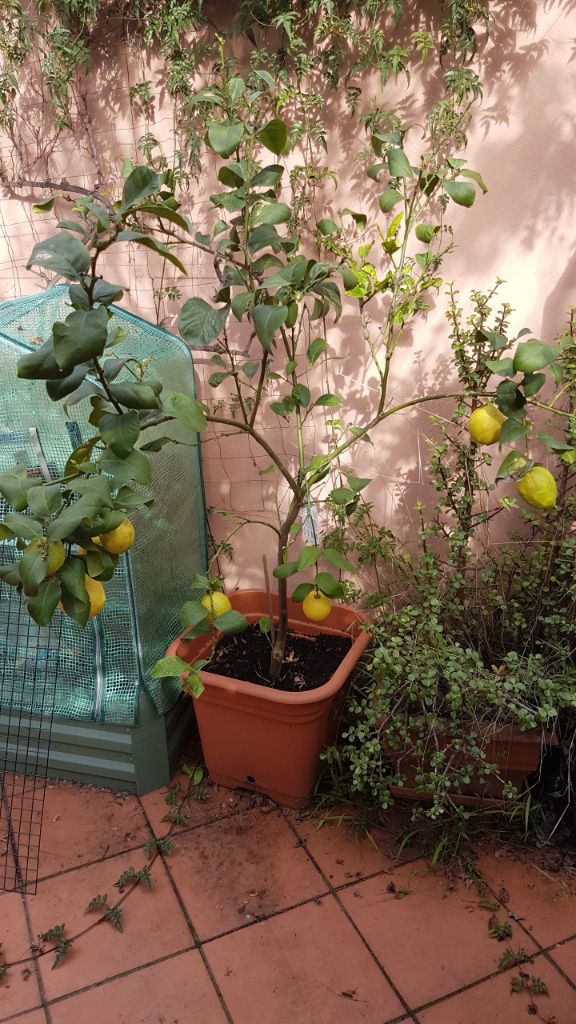
Now I’m just showing off the garden with my lemon tree!
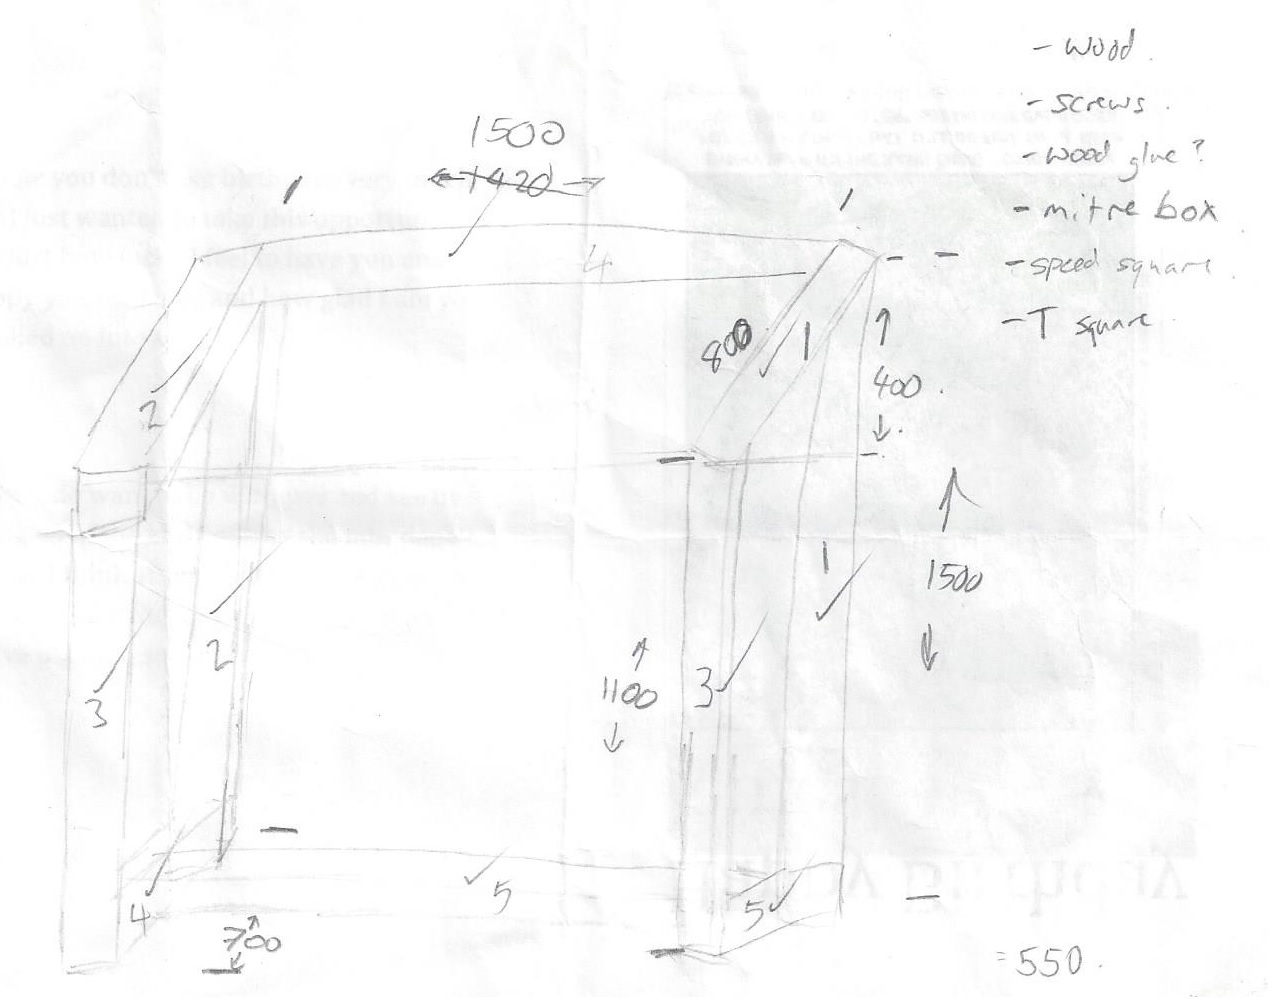
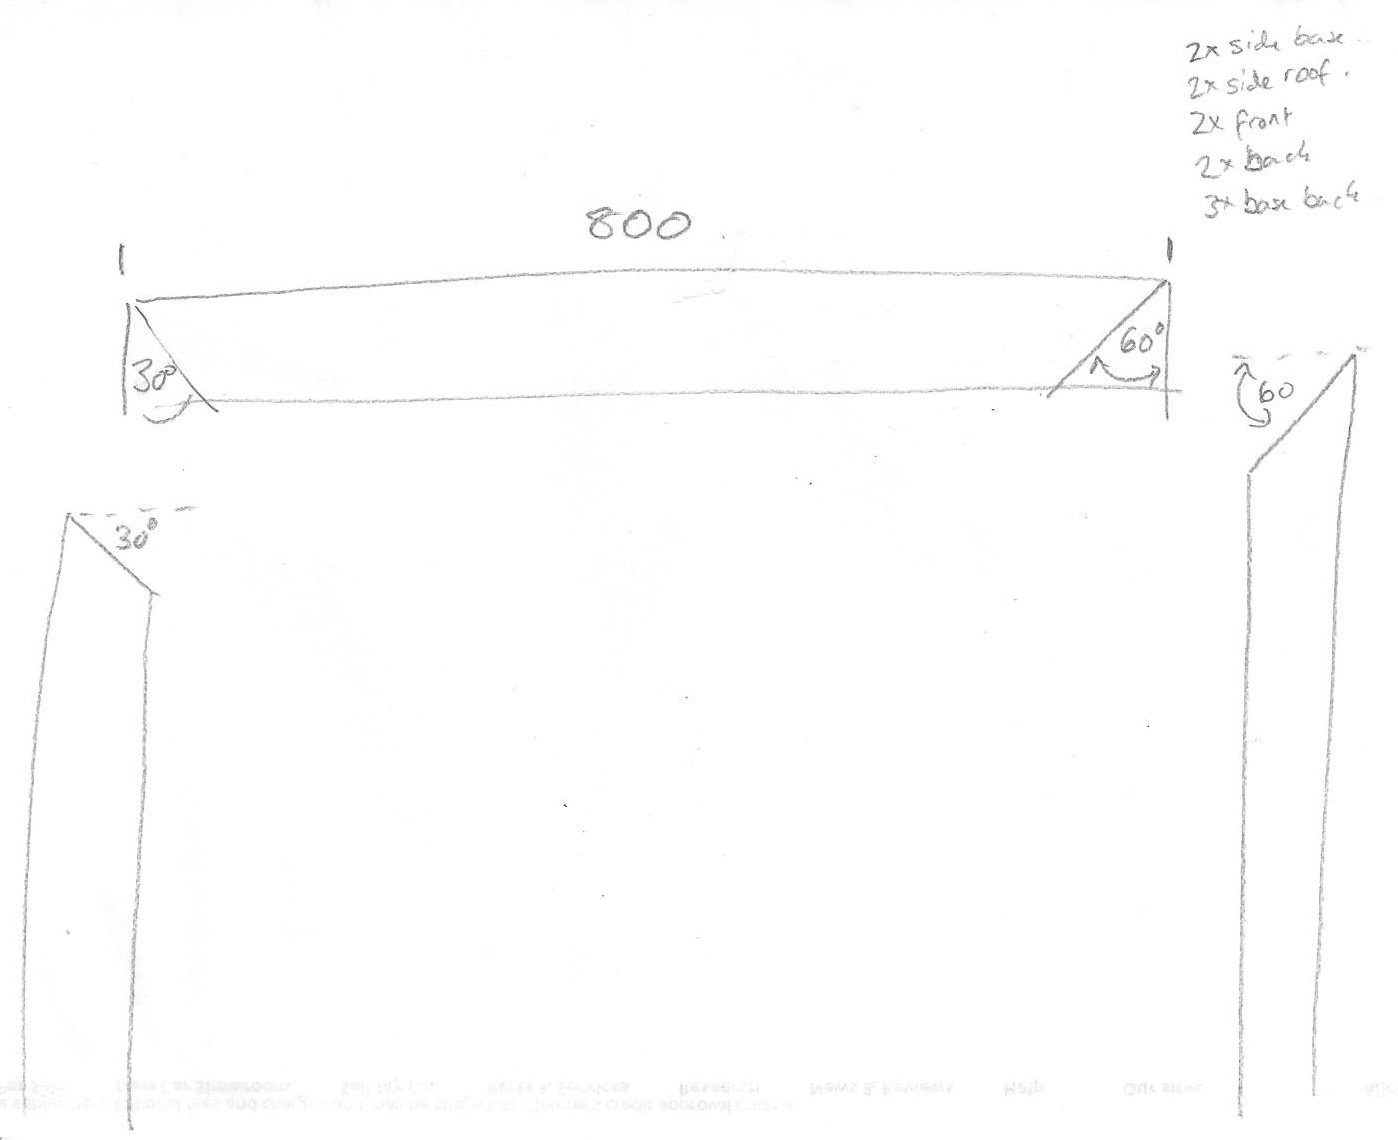
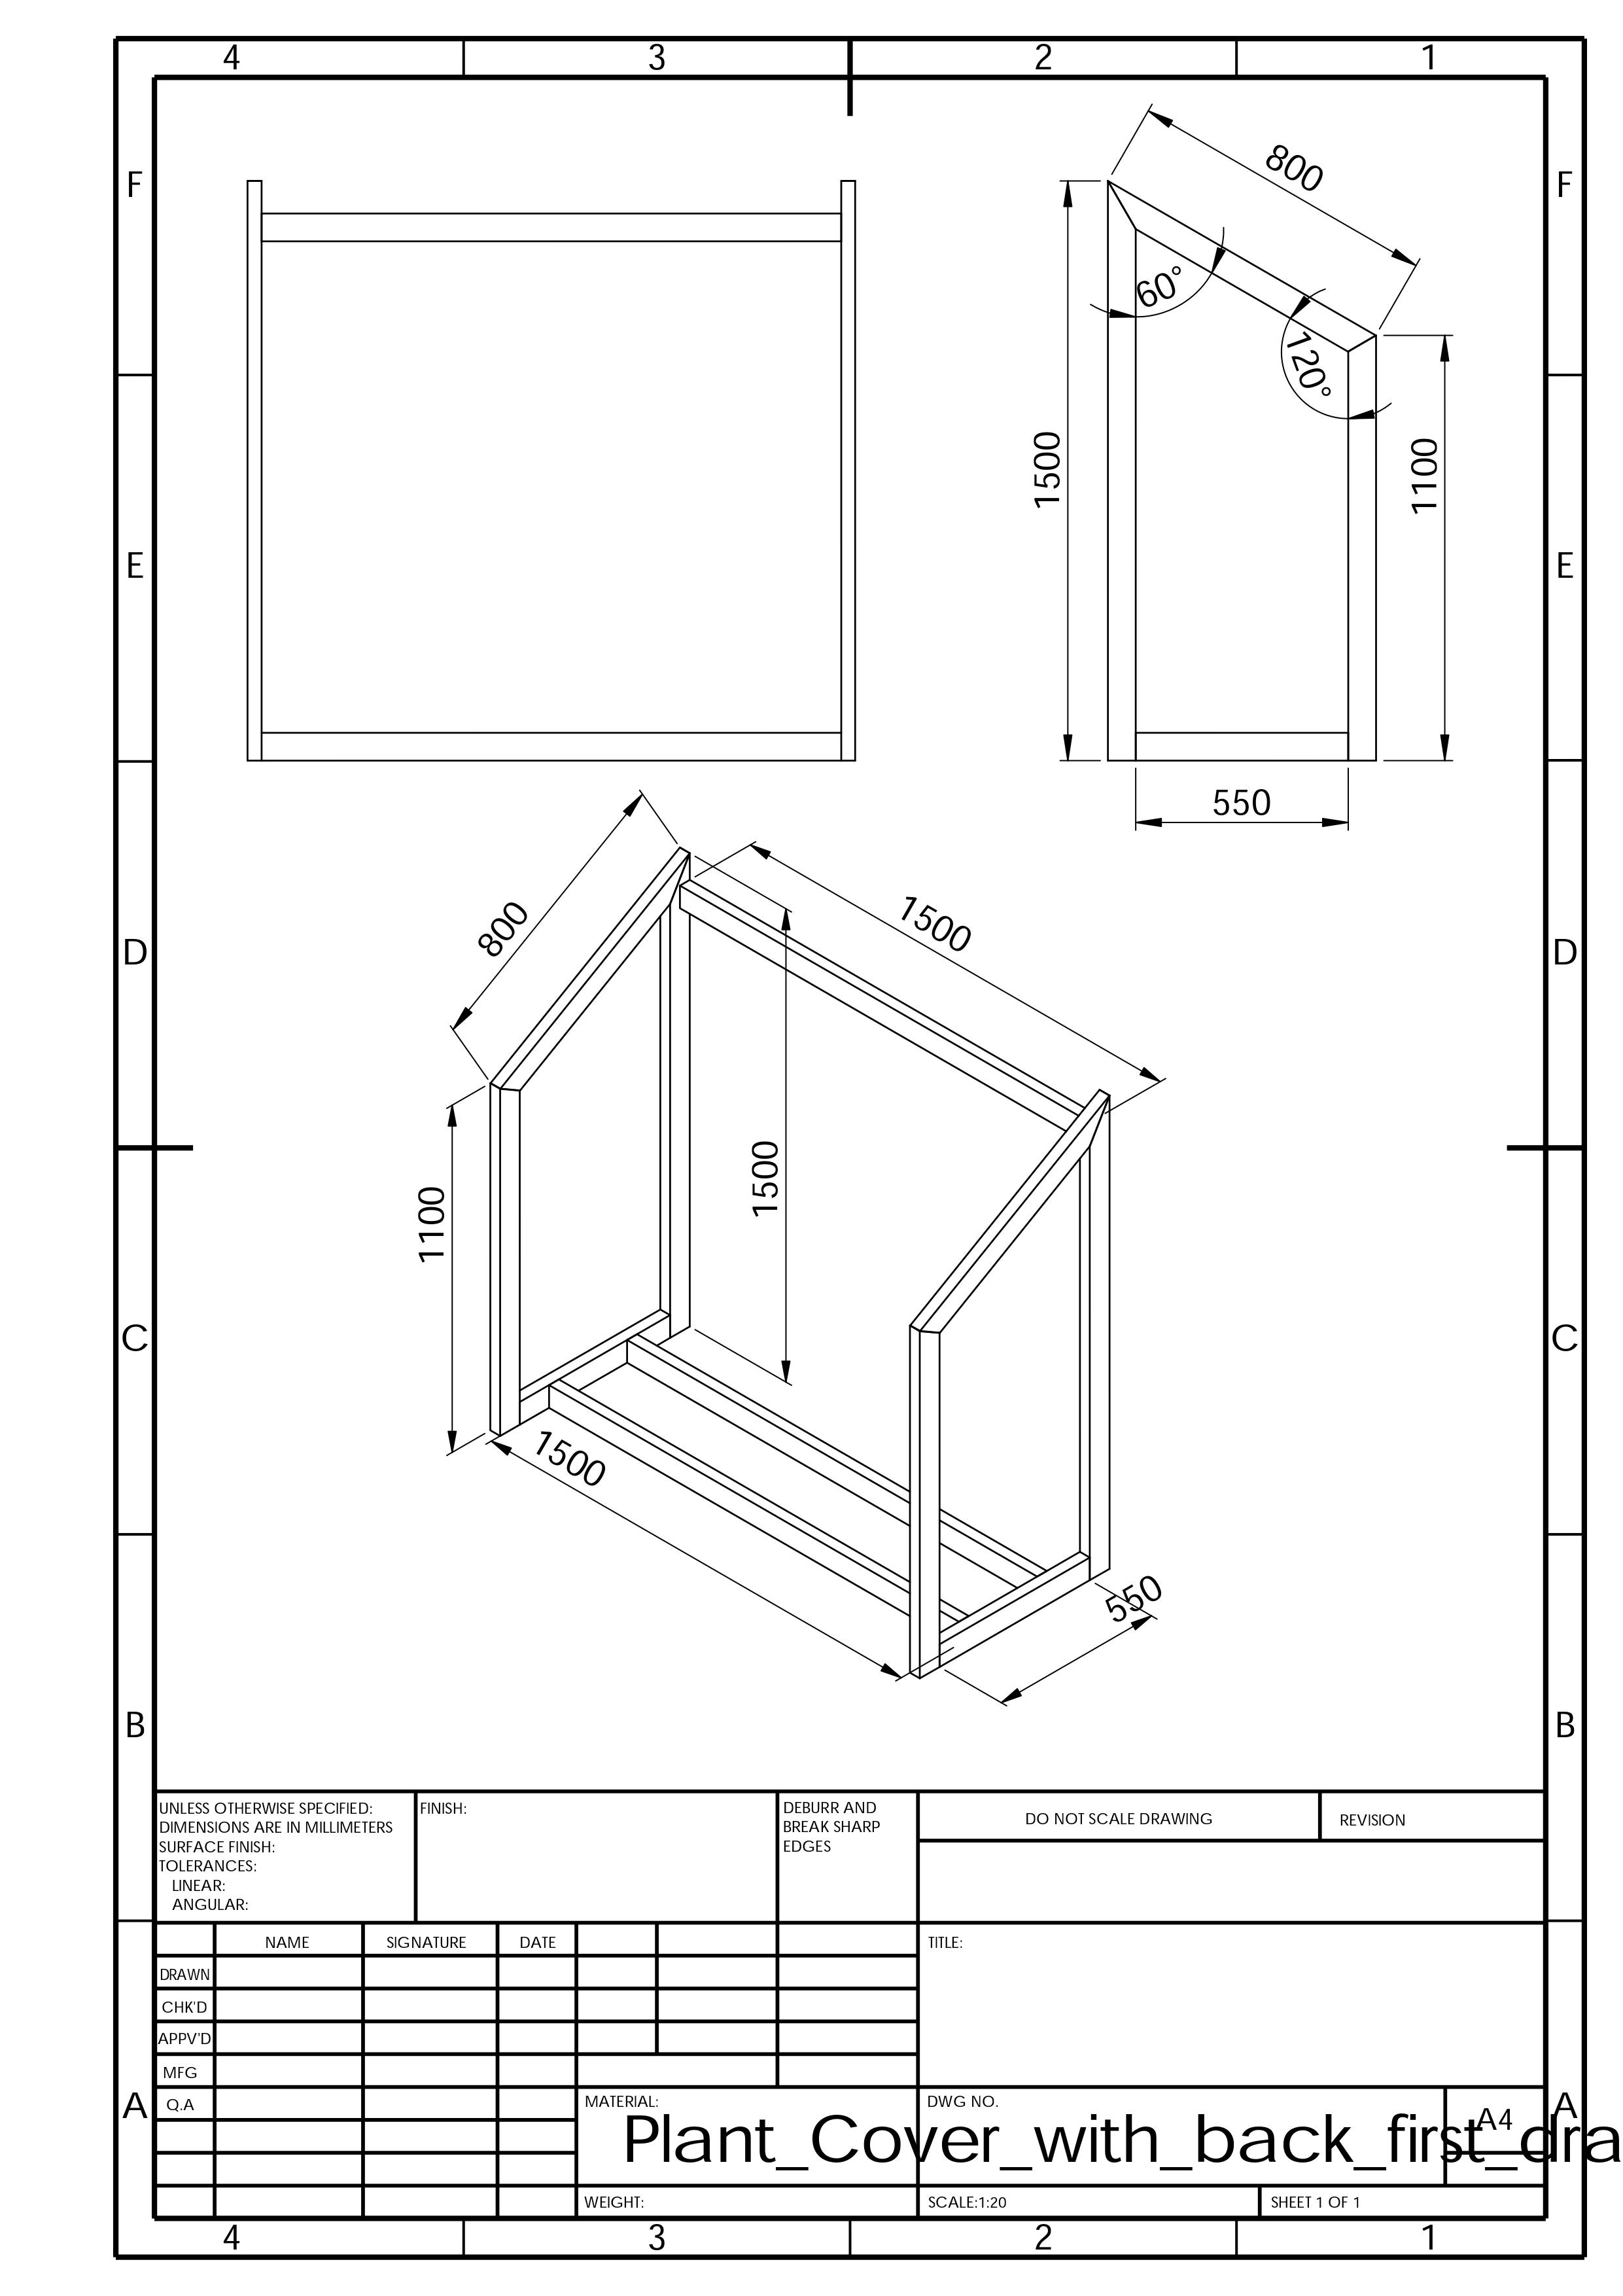
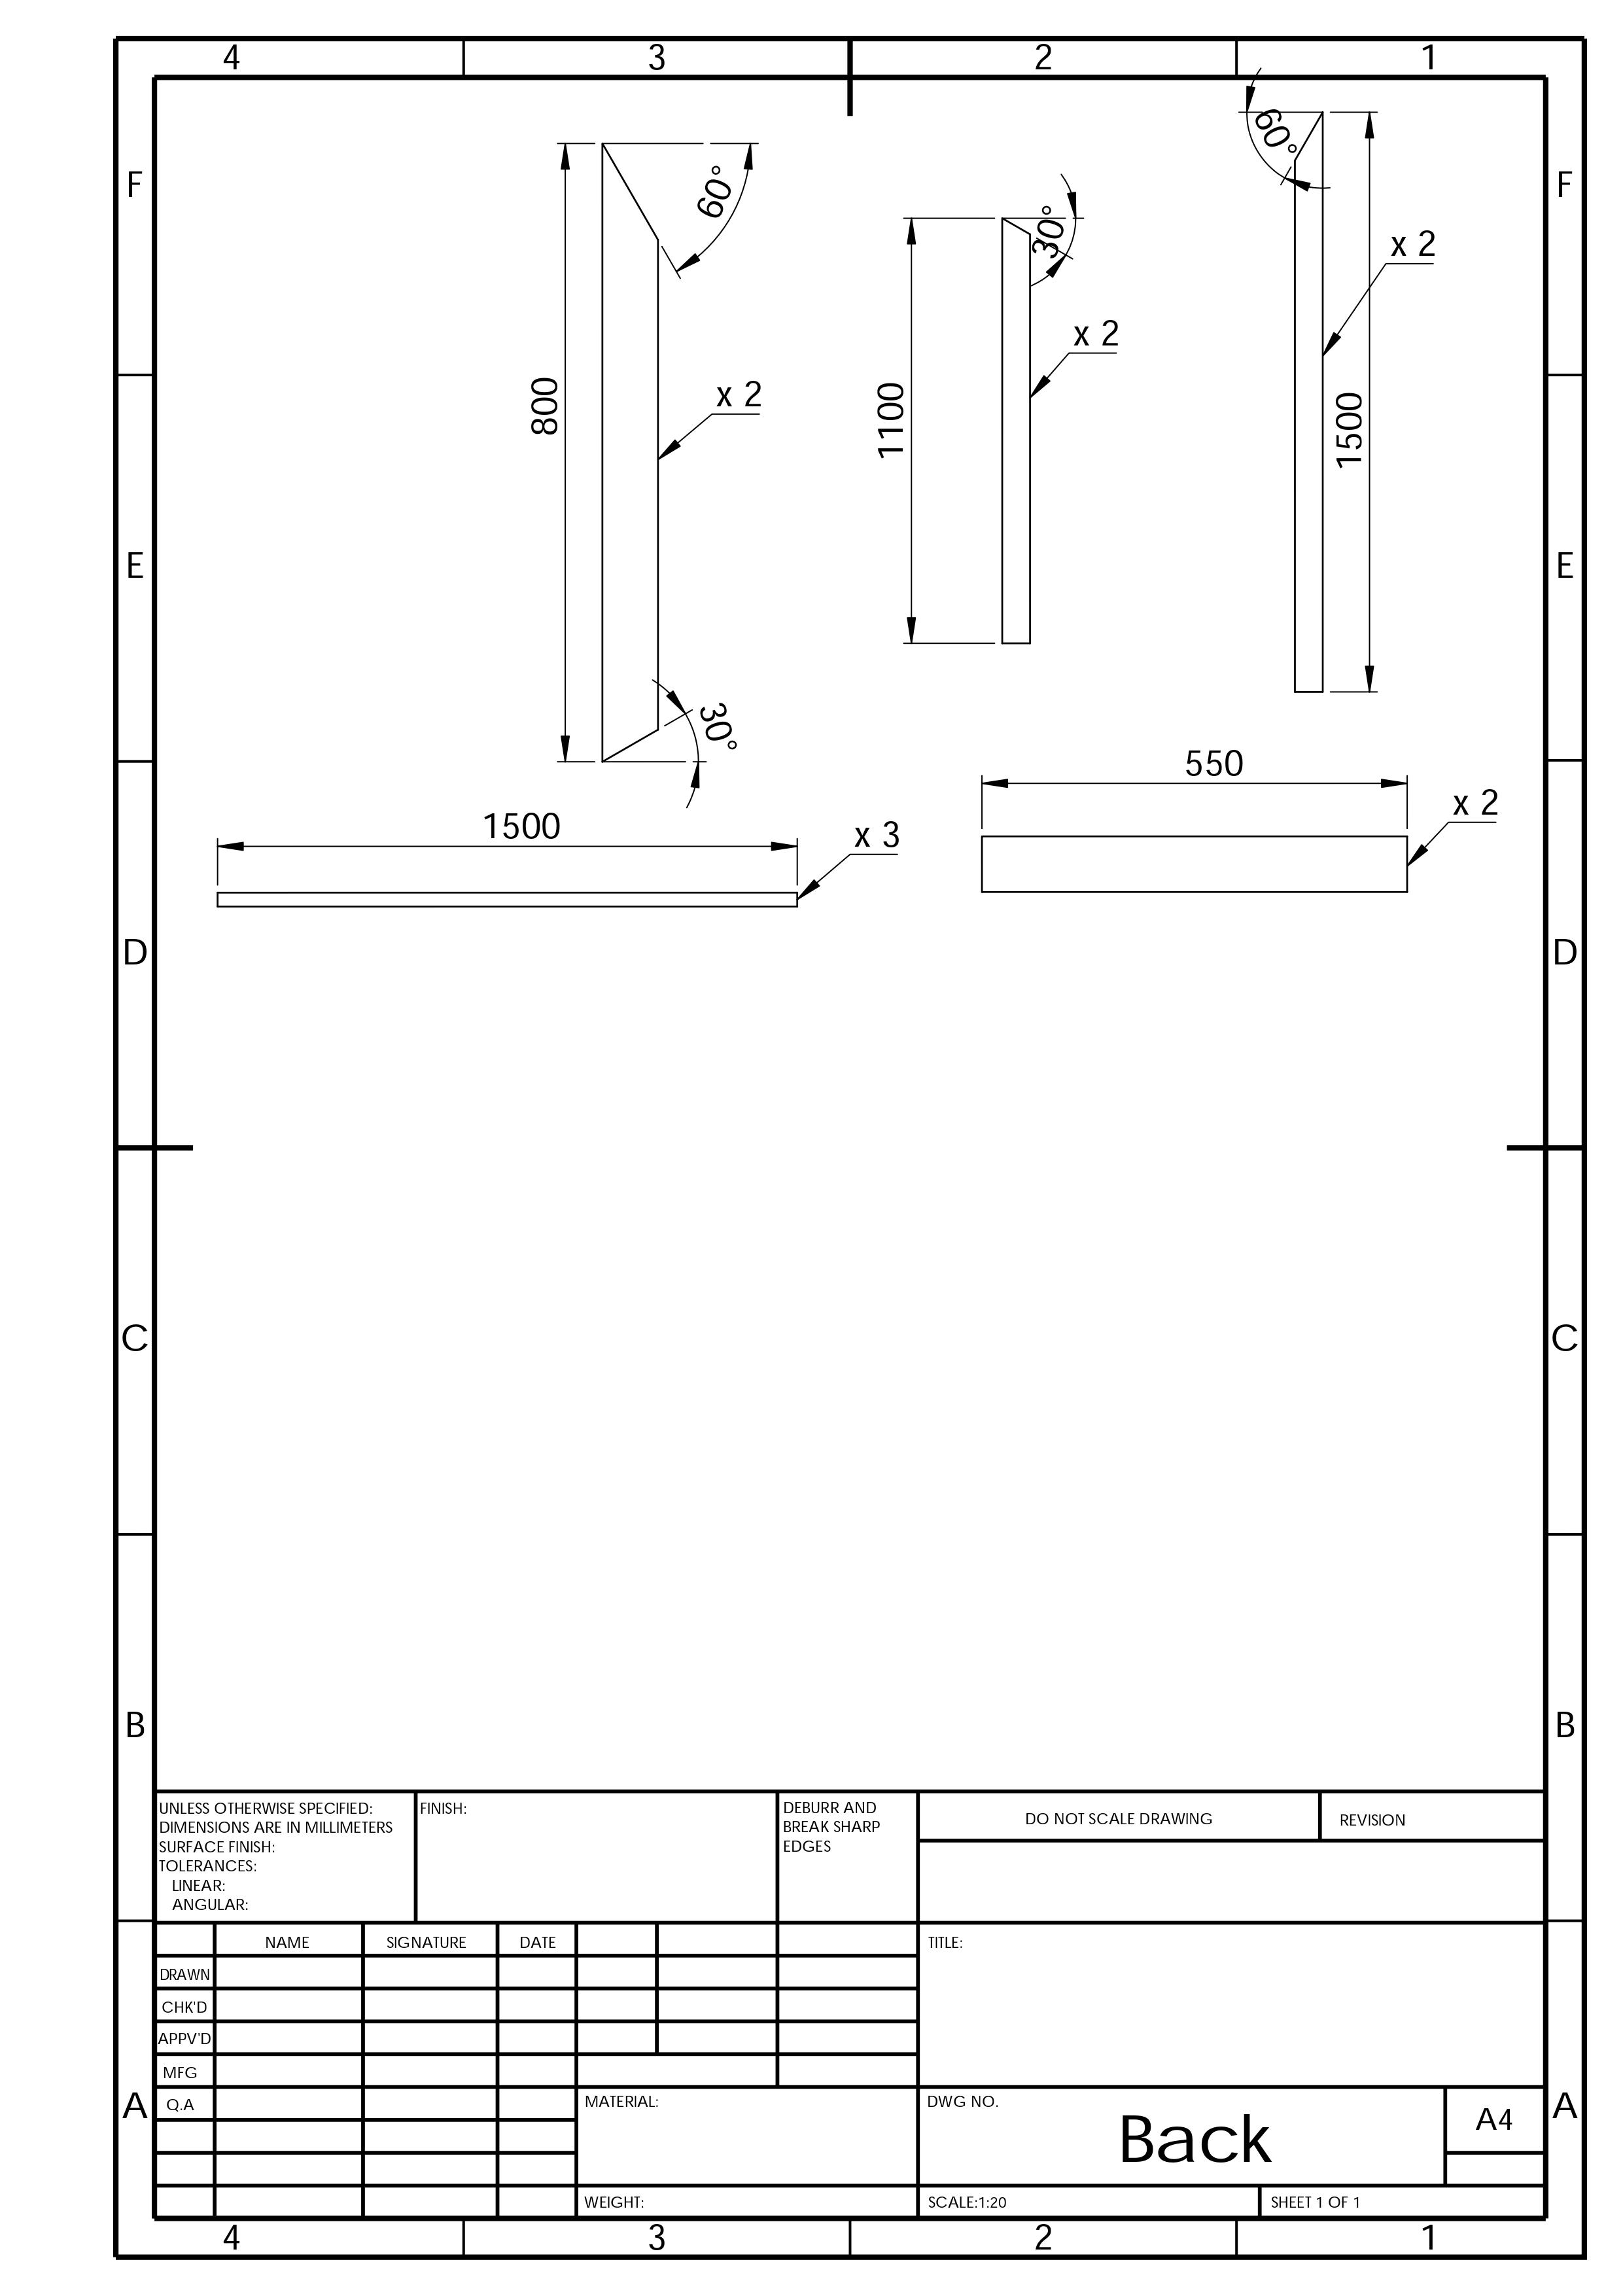
I put together a design first on paper and then put the design into Solidworks to make sure that I wasn’t missing anything and that I had my measurements right.
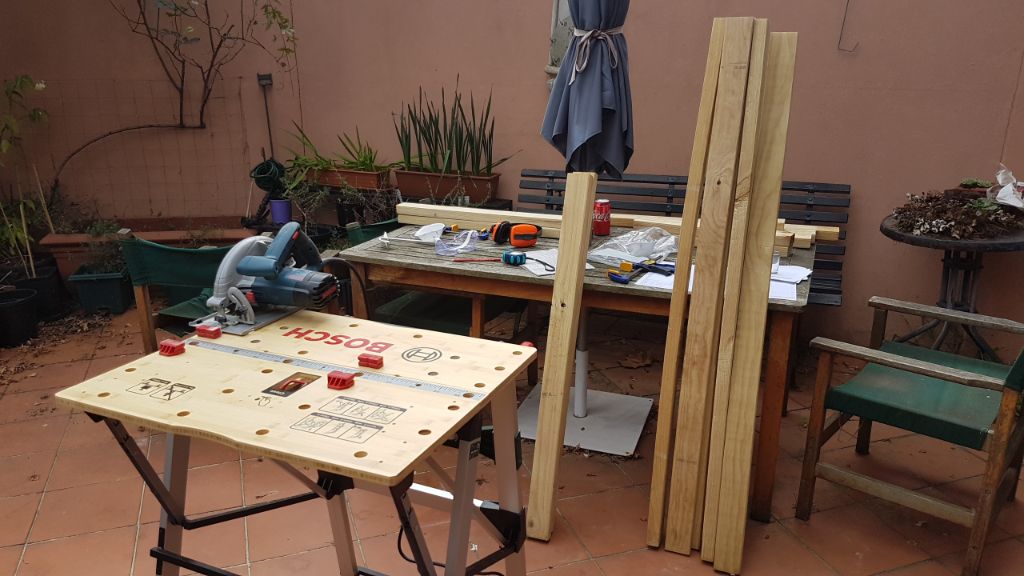
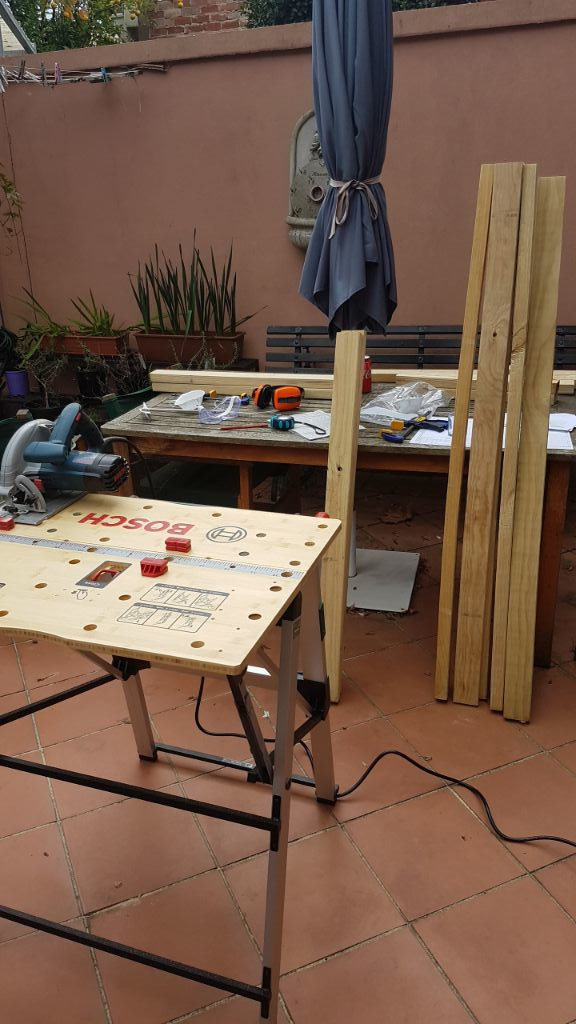
OK, focus, back to the plan! Here is my “workshop”; I’m using a circular saw to cut the pieces and using my new worktable to secure the pieces for cutting.
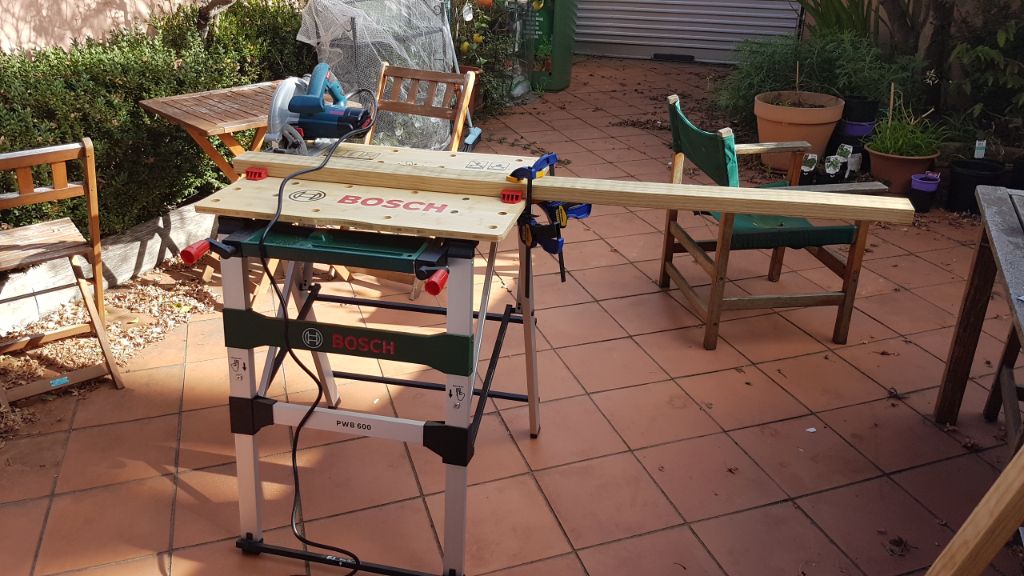
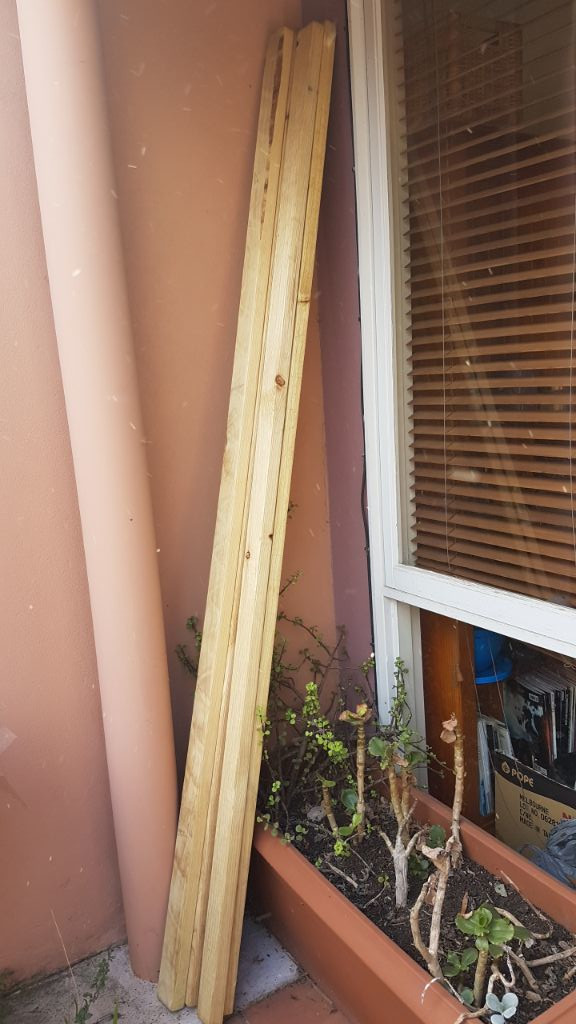
I got the treated pine just from my local Bunnings. I had to get treated pine as the net frame will be out in the weather.
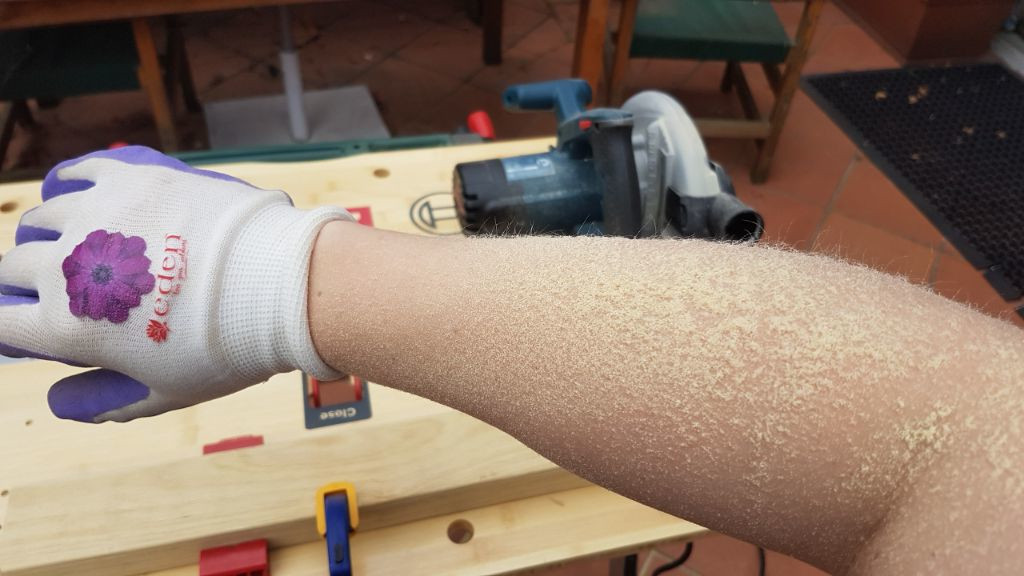
A nice couple of action shot of cutting the wood.
I should point out I decked myself out in the most attractive safety gear on the planet but I rather like having functioning senses so I’m all about the safety gear!

Now I should point out I’ve never used a circular saw before so there was a bit of a learning curve trying to get straight cuts as when you get to the end of the cut there’s no guideline anymore so I had to focus on keeping it straight.
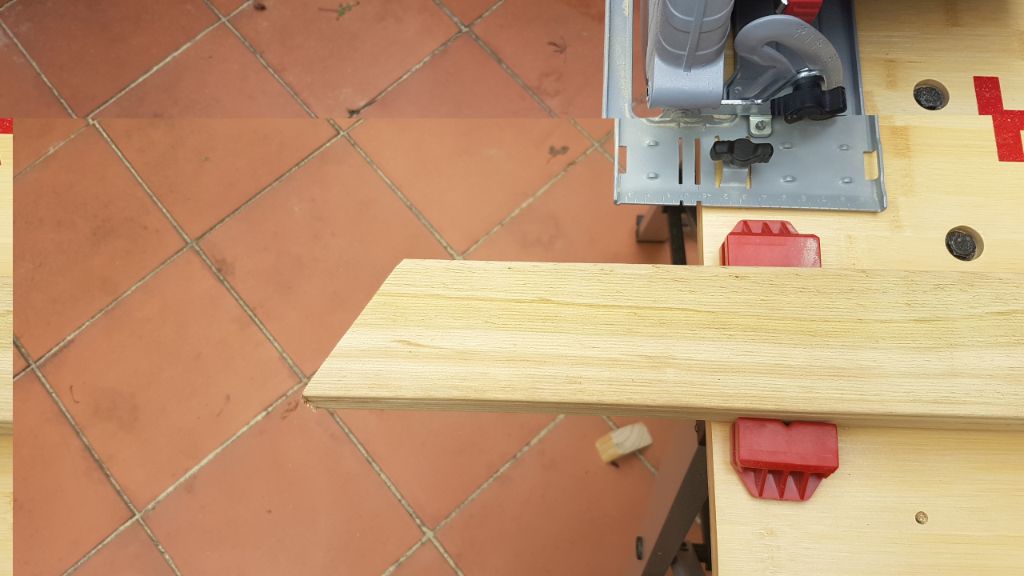
I don’t have a vacuum on the end of my circular saw and didn’t realise how much sawdust would shoot out of it!
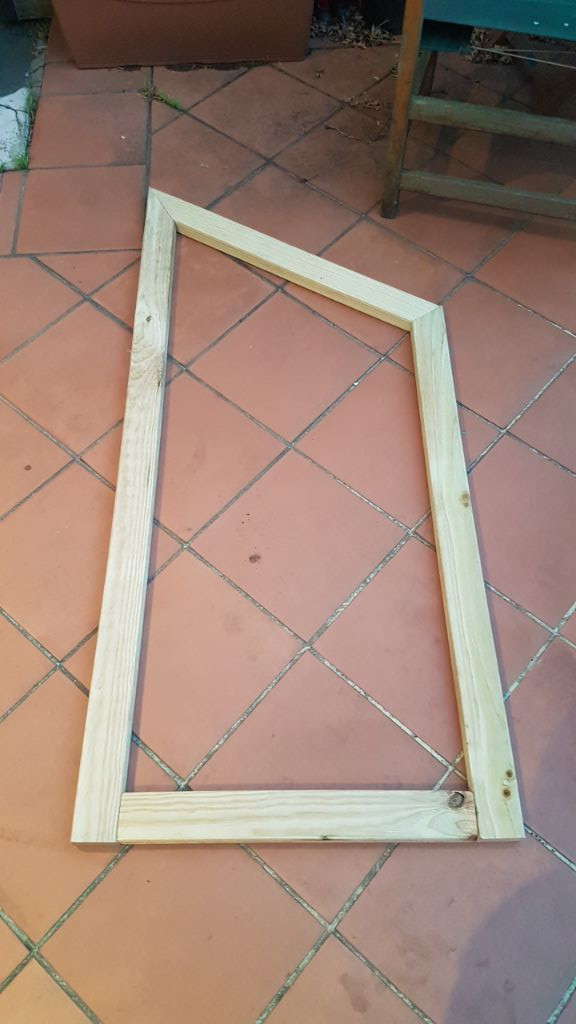
At long last all the pieces were cut at (approximately) the right angles!

Here I laid out all the pieces and began screwing the frame together. I did have to file down some pieces to get them to sit flush but overall I’m happy with my cuts.
I laid out the frame to make sure it was going to be high enough and to double-check I”d measured correctly.
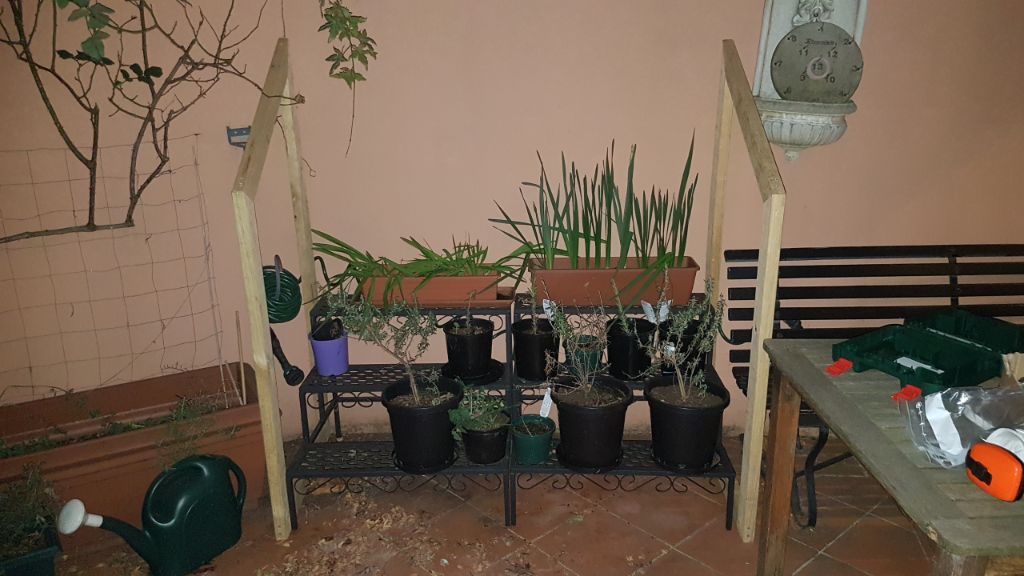
After confirming my measurements I screwed in the bottom supports in a place that wouldn’t be in the way of the legs of the black plant stands.
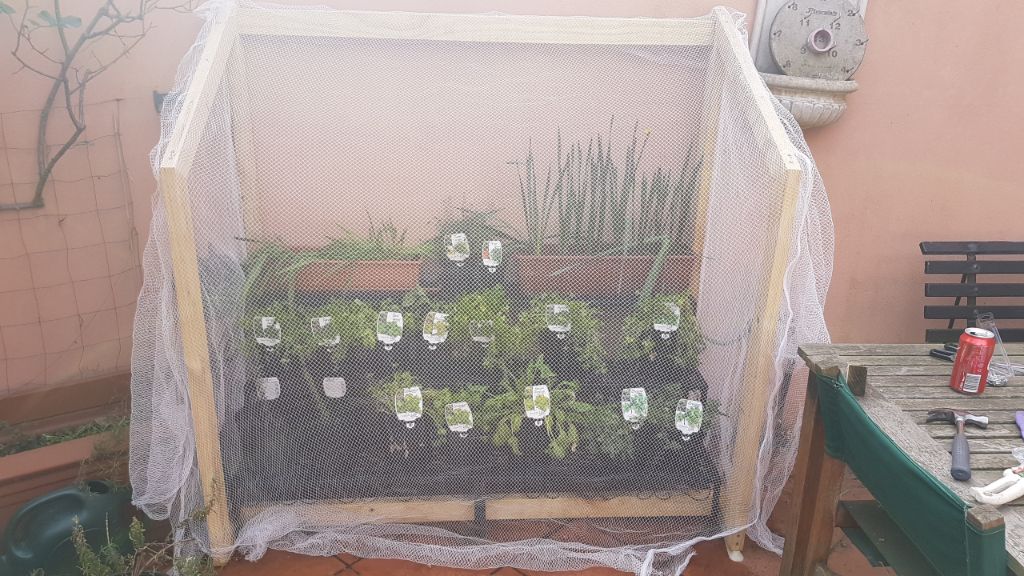
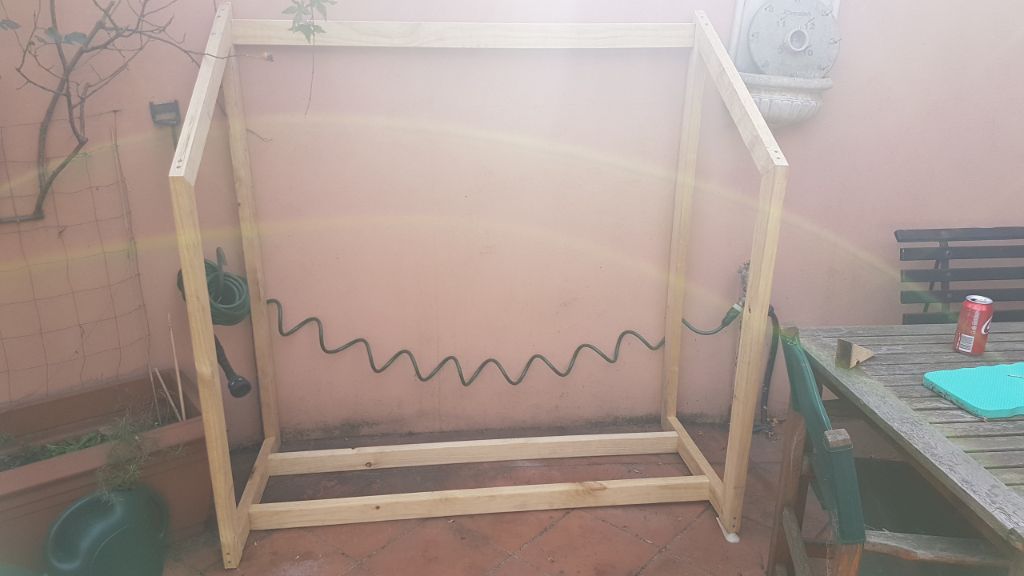
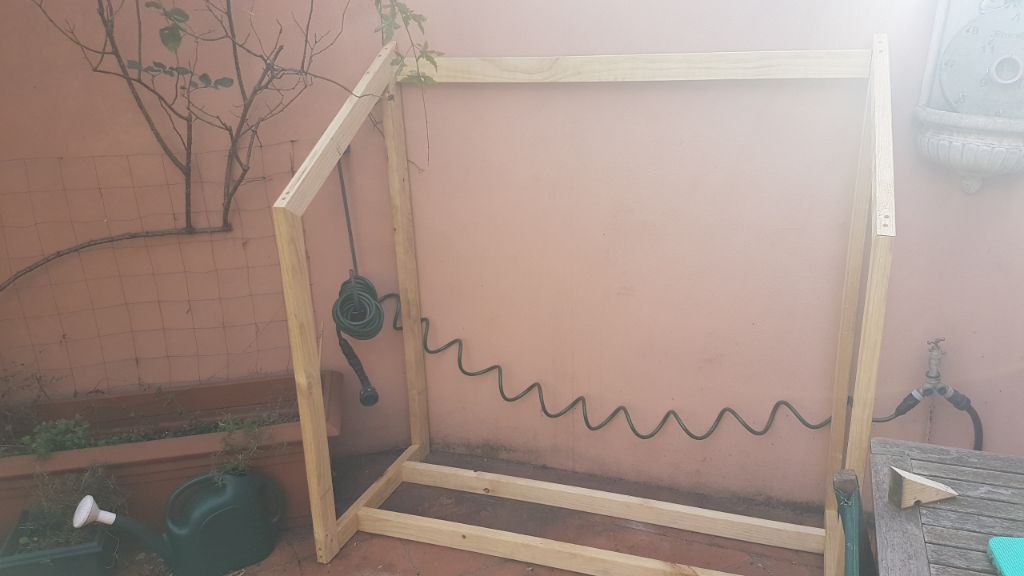
Here is the completed frame all lined up!
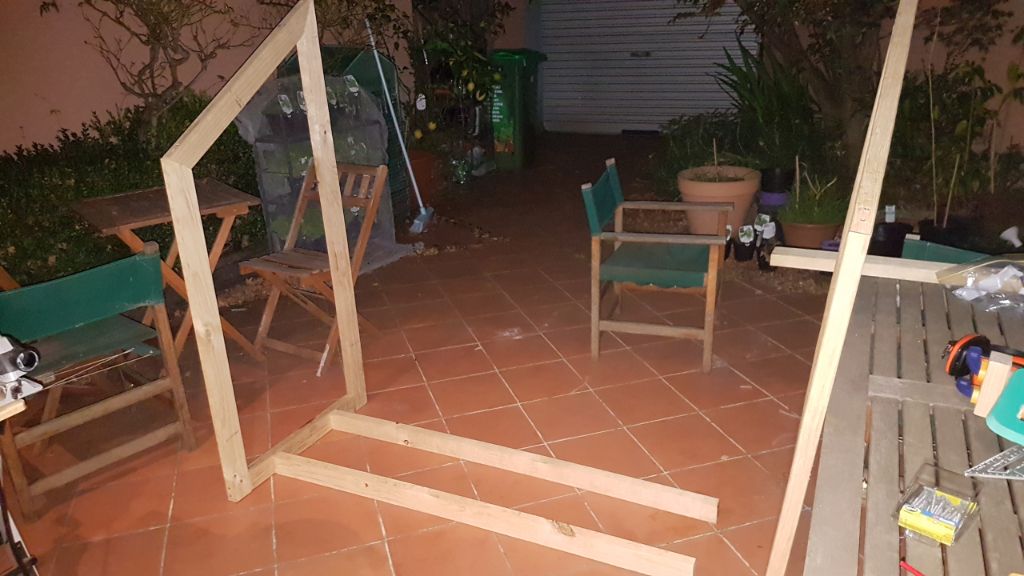
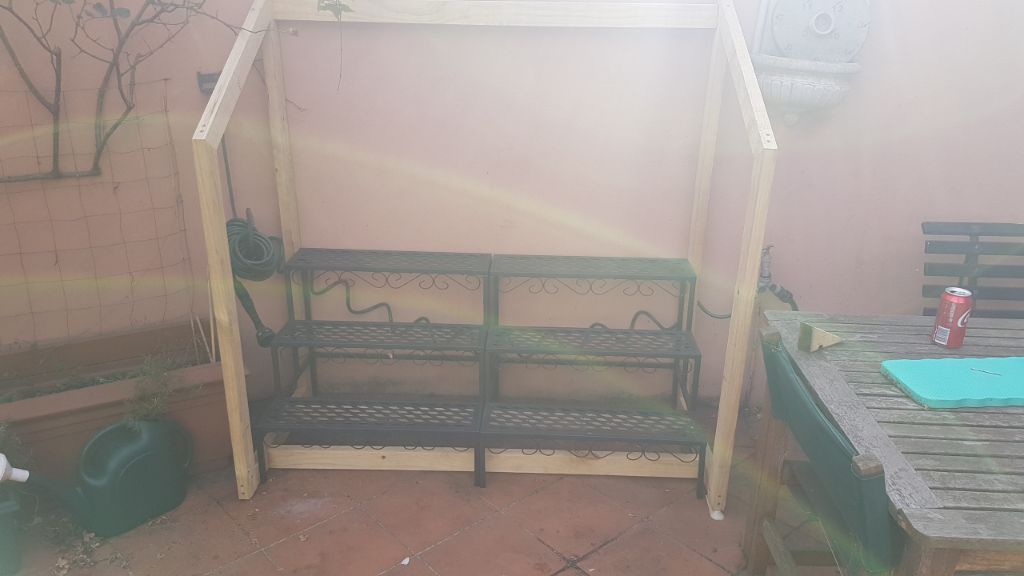
Adding back in the stairs - everything fits nicely.
I staple-gunned the net to the frame, I did a rather rough job as I was running out of time with the rains coming but I’ve since kept the net as-is because it gets the job done.
With that all the plants are in and hopefully I’ll be the one eating these yummy herbs instead of the damn possum!